Getting Started
This page is a how-to guide on getting started using the VSEC platform to setup a Bench.
Hardware
See page “Hardware Requirements” to see what hardware is supported by VSEC Test
VSEC Test
To get started, navigate to https://vsec.blockharbor.io/ and log in. Now navigate to VSEC Test:
Generating ISO Image
Once inside VSEC Test, click the button in the bottom right corner that reads “CREATE BENCH”:

After clicking on create bench we are greeted with the following prompt:

Here you can configure your iso image. Be sure to fill in the WiFi credentials and hostname of the device. Once you have filled out the configuration select Create and you should see the image begin downloading.
Flashing VCI
After the .iso image has finished downloading we are ready to flash an SD card and install the SD card into the VCI. The recommended way to do this is by using the offical Raspberry Pi Imager (https://www.raspberrypi.com/software/) directly from raspberrypi. Once installed, run the raspberry pi imager.
- Click on “Choose OS”
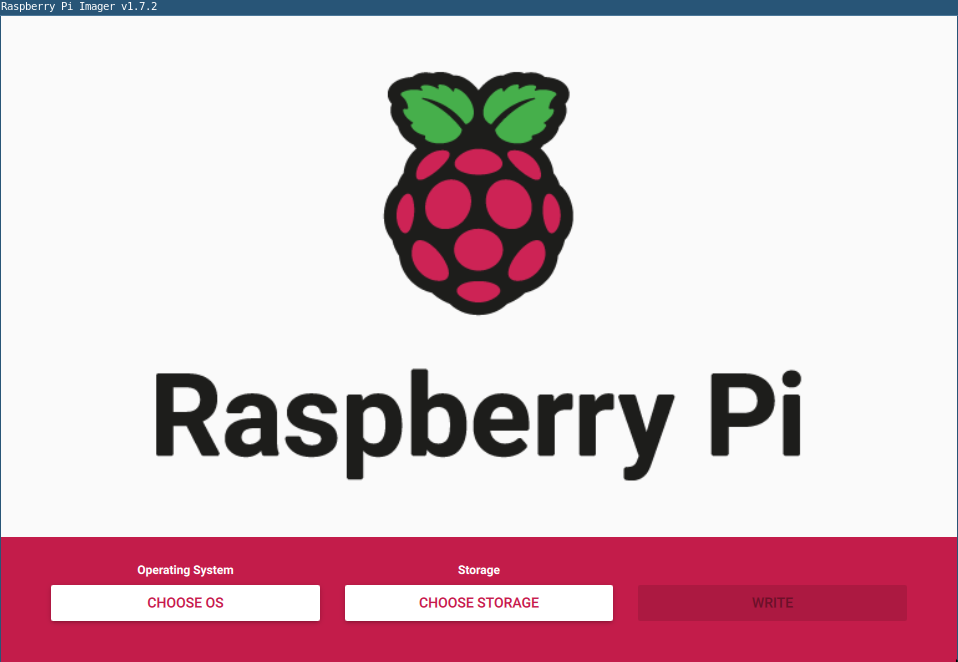
- Choose “Use Custom” and select the .iso image downloaded from VSEC Garage

If the Rapsberry Pi imager asks if you want to add “Custom OS Settings”, choose “NO” and move onto the next step.
- After we have chosen the custom iso, we want to select the appropriate storage device. After inserting the SD card into your workstation, click “Choose Storage” and select the SD card. Once selected, we are ready to write to the SD card.
- Click “WRITE”
Connecting VCI to VSEC
Once the SD card has been flashed and the raspberry pi imager states that it is safe to remove, remove the SD card and insert it into the raspberry Pi. To connect the VCI to VSEC, simply plug the VCI into a power source and wait a couple minutes. After some time, you should be able to refresh VSEC Test and see your newly created bench as “online” with a green dot next to it.
Accessing the Remote Terminal
To access the devices CLI interface, click the red Terminal icon on the right side of the bench. This should spawn a new tab where you can access the terminal of the VCI and execute commands.

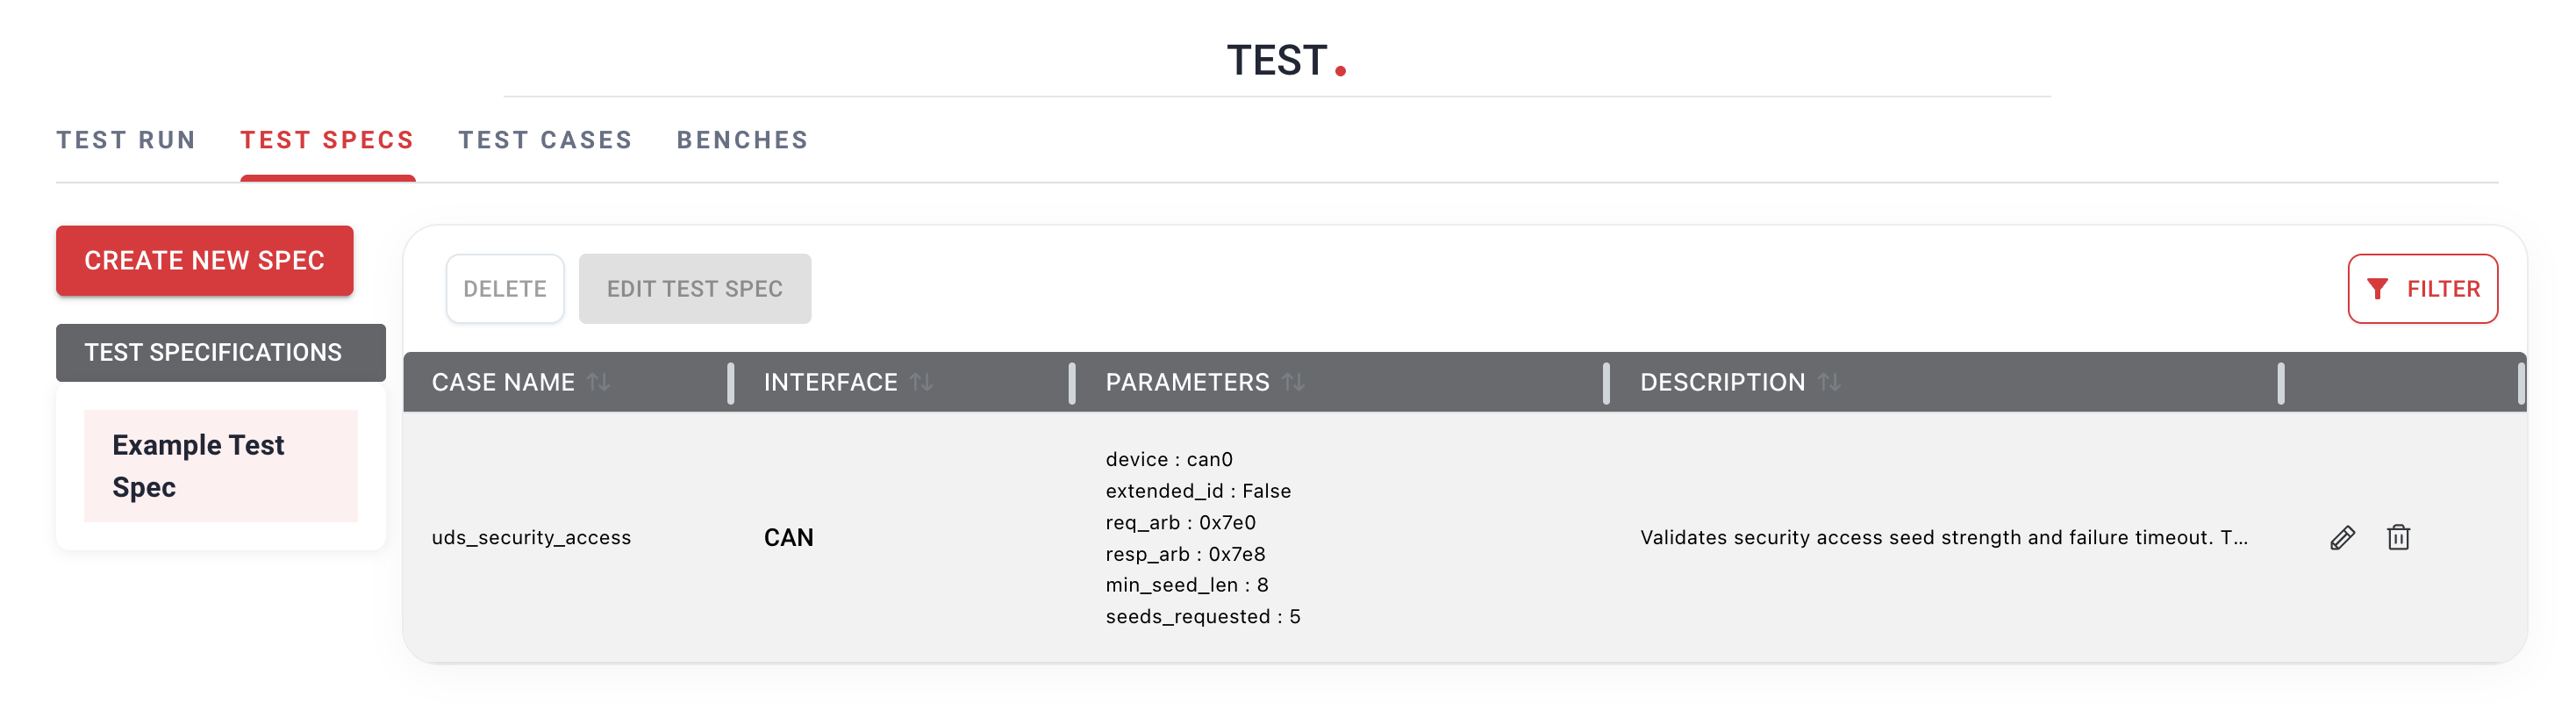
Creating Test Specifications
Within Test there are Test Runs and Test Specifications. Test specifications are where you can build a set of tests to be executed, and Test Runs enable you to run the actual tests against one or multiple targets.
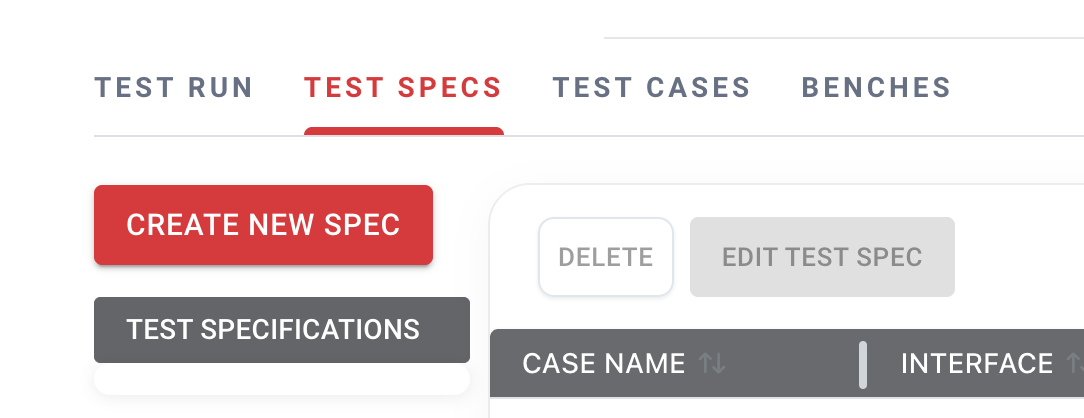
To get started let’s first add a new Test Specification by selecting the Create New Spec button. After giving the spec a name and description, click create. You should now see the newly created Test Spec and be able to add test cases to it with the red Add Test Case button in the bottom right.
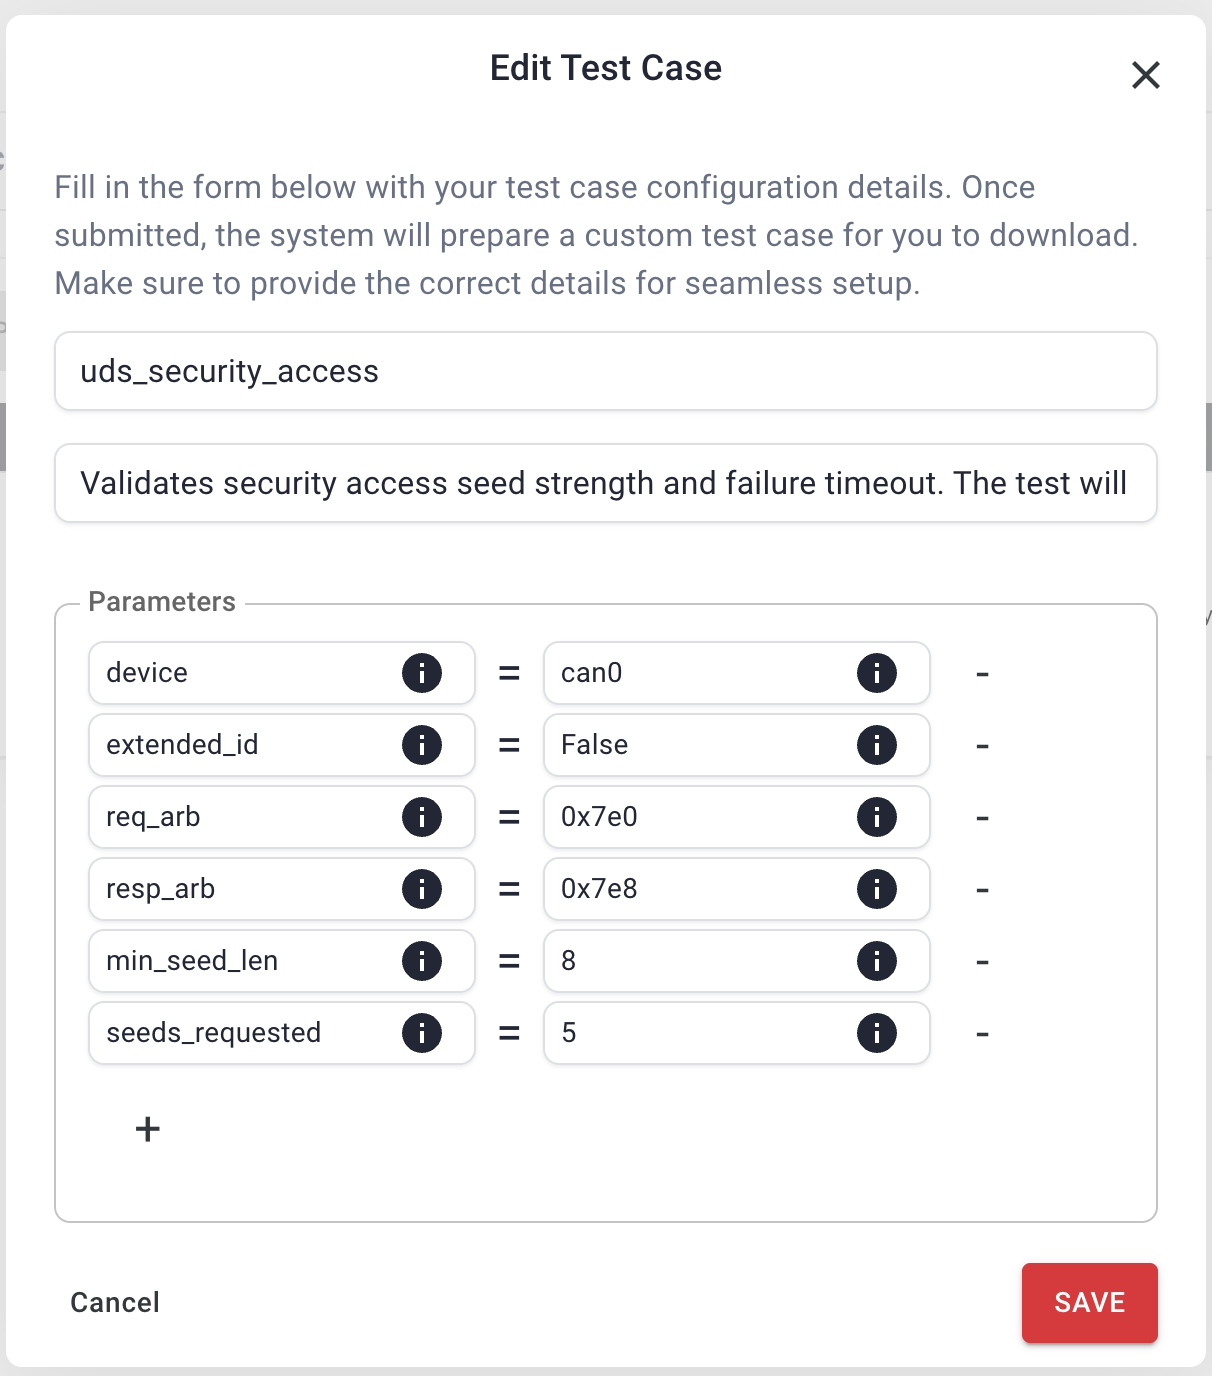
Once you have added a test to your spec, you will probably want to adjust the parameters of the test. Click the pencil edit icon on the test row and you will be presented with this test case configuration screen.
Running Tests
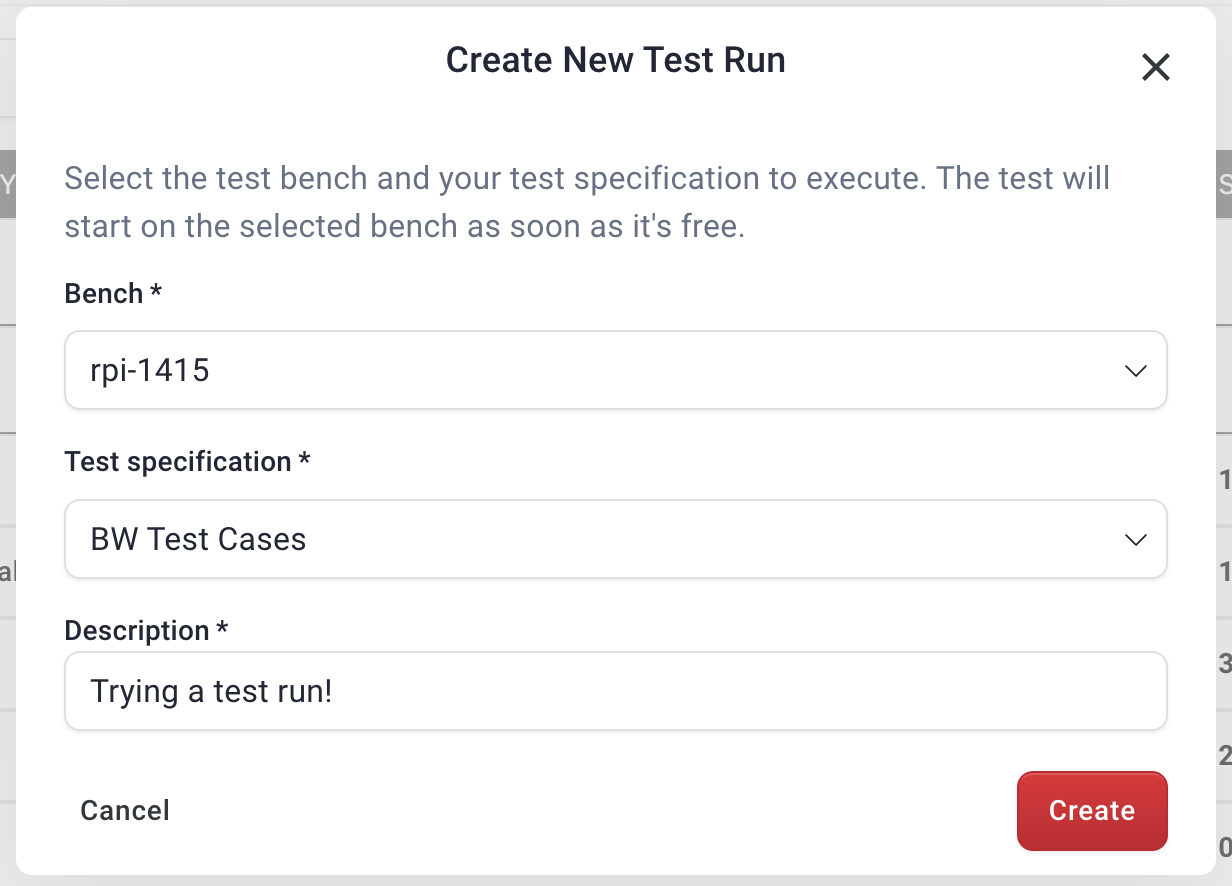
Now that we have created a test spec let’s run it! Navigate to the Test Runs tab and select the red Create Test Run button in the bottom right. You will have the option to select which test spec to run against which bench and add a description for this test run.
Custom Test Cases
To add your own custom test cases to your VSEC VCI, check out our tutorial on how to Create a Custom Test Case