My Workspaces
My Workspaces
The My Workspaces page lists every workspace you are a member of, along with your role and subscription status in each. From here you can create new workspaces, leave ones you no longer need, or delete workspaces you administer.
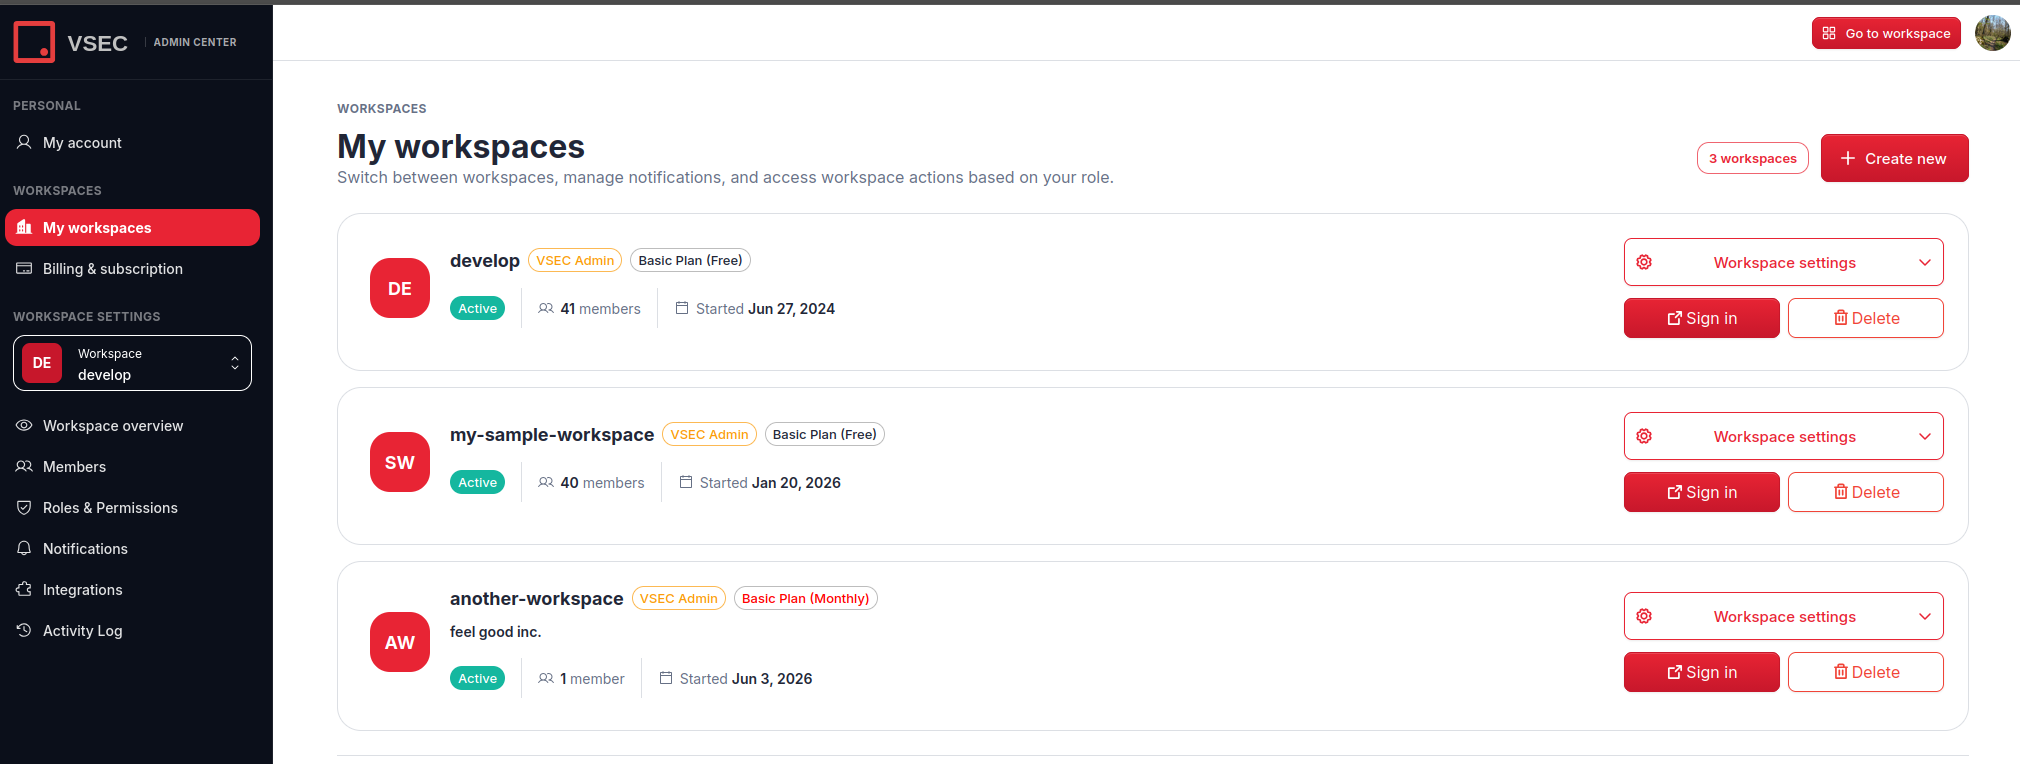
Creating a Workspace
A paid subscription with available workspace slots is required to create a new workspace. When eligible, a Create workspace button appears at the top of the page — the label shows your current usage (e.g. Create workspace (1/3)).
- Click
Create workspace. - Enter a workspace name (required). Optionally add a company name, description, and logo (PNG or JPEG, at least 400 x 400 px).
- Click
Create workspaceto confirm.
Newly created workspaces typically take 15–20 minutes to finish provisioning. They appear with a Generating status chip until ready.
If you do not yet have a subscription, visit Billing & Subscription to choose a plan first.
Leaving a Workspace
You can leave any workspace you are a member of, as long as you are not the owner. The shared free workspace cannot be left.
- Click
Leaveon the workspace card. - Click
Leave workspaceto confirm.
Workspace owners cannot leave their own workspace. To hand the workspace to someone else, contact support.
Deleting a Workspace
Any workspace admin can delete a workspace.
- Click
Deleteon the workspace card. - Type the workspace name exactly as shown, then click
Delete workspace.
Deleting a workspace is permanent. All data associated with it will be removed.
Last updated on